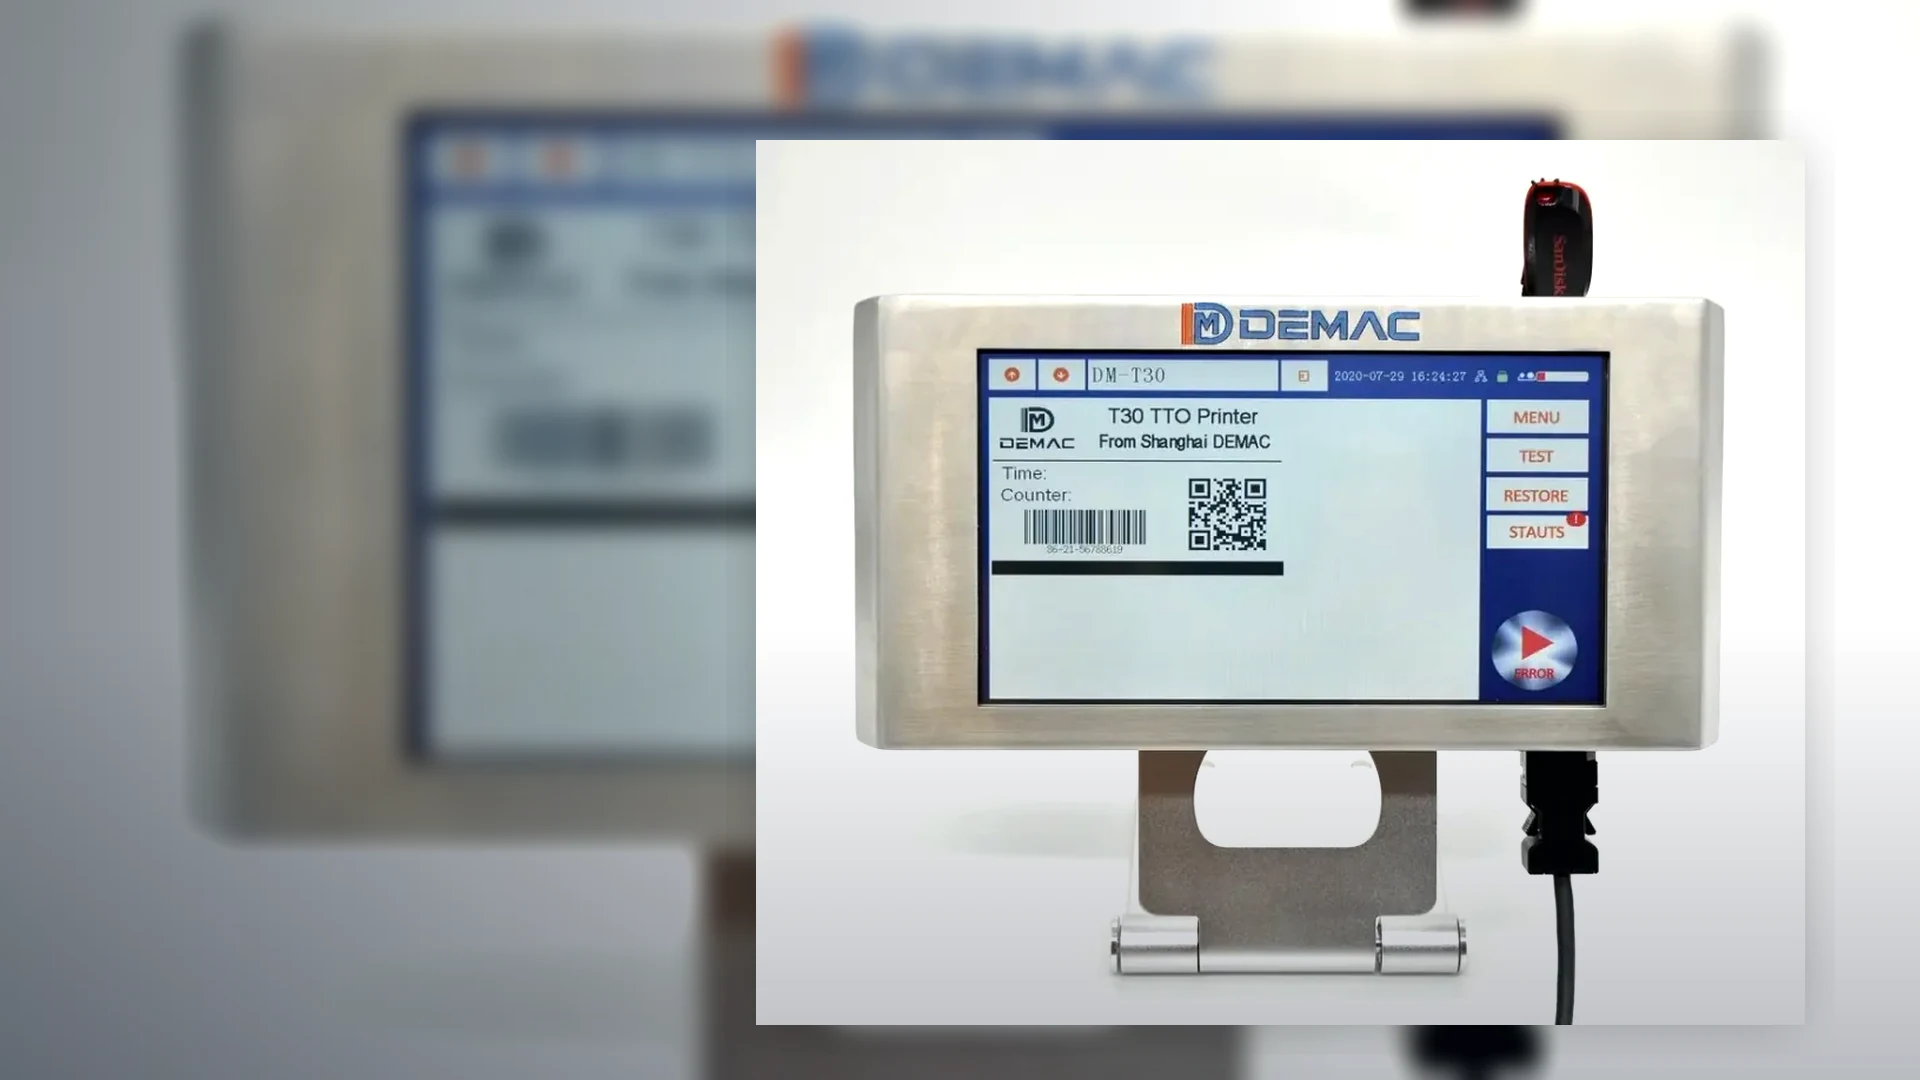
Coding machine troubleshooting guide
A coding fault is rarely solved reliably by changing several settings at once. Separate product presentation, print process, data, inspection and containment, then change one controlled factor and record the result.
Use a five-part fault-finding sequence
Preserve evidence before resetting the printer or clearing the line. A photograph, rejected pack, active job, alarm history and current settings can prevent the fault from becoming unrepeatable.
1. Confirm the symptom
Is the defect missing print, poor print, wrong data, wrong position, intermittent operation, inspection failure or reject failure? Avoid combining distinct faults.
2. Hold the product
Identify the last confirmed good pack and contain uncertain product according to the site's procedure before restarting.
3. Check recent change
Review product, substrate, consumable, message, speed, cleaning, maintenance, software, format and operator changes.
4. Isolate one cause
Change one controlled variable, test with a known sample and record the outcome. Return to the approved setting if it does not resolve the fault.
Symptom-to-check troubleshooting matrix
| Symptom | First checks | Evidence to retain |
|---|---|---|
| No print | Power and ready state, active job, product sensor, trigger, encoder, print inhibit, data validity, consumable and printhead position. | Alarm, I/O state, product position, event time, active job and whether print complete was issued. |
| Faint or incomplete print | Ink or ribbon condition, printhead cleanliness, print distance, pressure or temperature where relevant, substrate contamination and speed. | Good and bad samples, consumable batch, settings, material identity and cleaning action. |
| Smeared or transferred code | Ink suitability, drying or cooling time, downstream guides, belts, sealing, product stacking, condensation and abrasion. | Pack path, time to first contact, contact surface and result after realistic handling. |
| Position drift | Product stability, sensor location, trigger delay, encoder slip, speed change, web registration, bracket movement and format setting. | Position measurements at start, normal run, speed change and restart. |
| Wrong data | Selected job, operator input, date rule, batch source, field mapping, template version, communications and fallback behaviour. | Authorised value, printed value, data transaction, user action, job version and affected time range. |
| Barcode or 2D failure | Symbol size, quiet zone, contrast, print defects, distortion, data structure, reader setup, substrate and downstream damage. | Original artwork, decoded data, verifier or scanner result, final pack and print settings. |
| False reject | Camera focus, lighting, product position, inspection threshold, expected data, tracking delay and reject confirmation sensor. | Stored image or sample, inspection score, product ID, line speed and reject event. |
| Rejected pack not removed | Tracking, actuator, air or power, bin-full state, confirmation sensor, conveyor stop, accumulation and reset sequence. | Camera-to-reject distance, event sequence, I/O states and physical pack location. |
Separate print-process faults from data faults
A technically perfect mark can carry the wrong information, while correct data can be unreadable on the pack. Investigate both paths independently.
- Confirm the authorised job and variable values before adjusting print quality.
- Compare the printer display, transferred data and physical mark.
- Check whether date and batch calculations changed at a day, shift or product boundary.
- Test loss of communications and confirm the approved fallback or stop behaviour.
- Protect templates and fixed fields from uncontrolled operator edits.
Known-good references reduce downtime
Retain an approved sample, message file, printer settings, consumable identification, mounting dimensions and inspection recipe for each important format. They provide a controlled baseline when a fault appears after maintenance or changeover.
The consumables and maintenance guide covers storage, cleaning and routine support questions.
Technology-specific boundaries
Hot foil
Check type condition and order, ribbon path, heater status, temperature, dwell, pressure, print pad, substrate support and intermittent-machine timing. Do not work on hot or guarded components outside the approved safe procedure.
Thermal inkjet
Check cartridge identity and condition, storage, nozzle care, print distance, orientation, substrate cleanliness, trigger and drying. Replace or clean only as instructed for the selected cartridge and printer.
Thermal transfer overprint
Check ribbon type, width, path and tension; cassette seating; printhead cleanliness; web movement; encoder or host signal; printhead pressure and settings. Follow the machine's isolation and handling instructions.
Escalation record for repeat faults
Record machine and software version, product and pack, message file, substrate lot, ink or ribbon, operator, time, line speed, environmental condition, alarm and the exact sequence before the fault.
Provide photographs or video showing the printer, product presentation, sensor, print position and downstream path without exposing confidential product data unnecessarily.
Retain good and bad packs in a controlled way where product safety and site procedures allow. Mark them clearly so they cannot re-enter production.
Describe every action already attempted and whether the machine returned to the approved settings. This prevents repeated uncontrolled adjustments and shortens remote or site diagnosis.
Coding-machine troubleshooting FAQs
Why is a coding machine printing intermittently?
Check printer-ready state, product sensor, trigger timing, encoder or speed input, product gaps, cable connections, data updates and whether the printer has enough time to complete the full message.
What causes inkjet codes to smudge?
Possible factors include unsuitable ink, contaminated or cold substrate, excessive print distance, insufficient drying time, downstream contact or environmental conditions. Test the complete pack process before changing settings.
Why does a TTO ribbon wrinkle or break?
Potential causes include incorrect ribbon path or tension, damaged cassette components, unsuitable ribbon width, printhead pressure, web tracking, temperature, contamination or a mechanical alignment issue. Follow the model instructions and inspect safely.
Why can a barcode scan sometimes but fail verification?
An ordinary scanner may decode a marginal symbol while a verifier detects contrast, modulation, quiet-zone or print-defect problems. Use the correct inspection method and production sample.
When should production stop rather than continue adjusting?
Stop and escalate when the code cannot be confirmed, data may be wrong, containment is uncertain, safety guarding or electrical work is involved, or adjustments would exceed the approved procedure or competence.
Send a repeatable fault record
Include the pack, message, settings, consumable, alarm, line speed, photographs and actions already attempted. Lancing can use the evidence to direct the next safe check.